


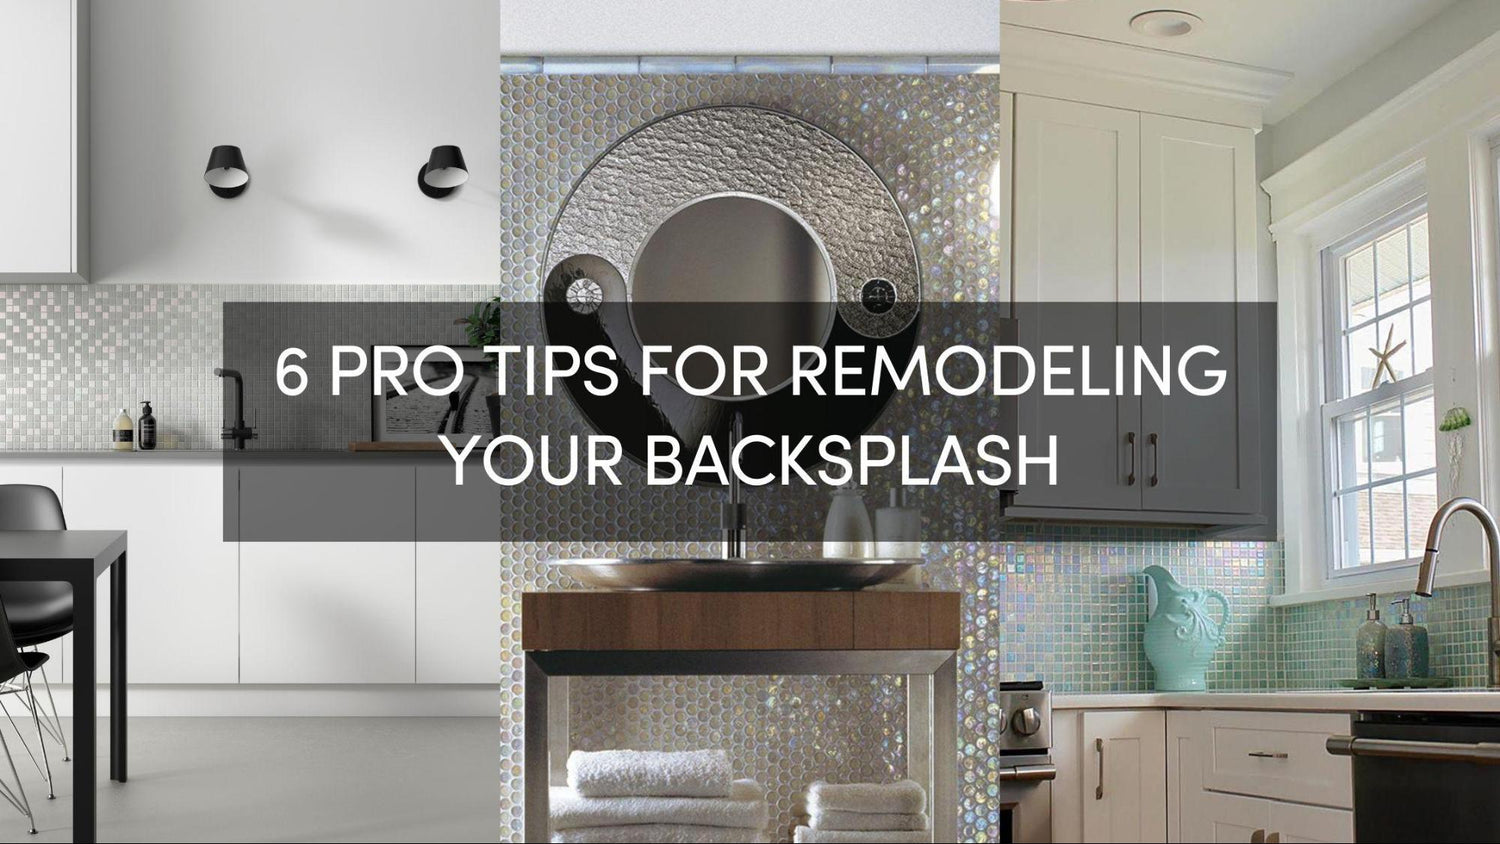
6 Pro Tips for Remodeling Your Backsplash
A backsplash is a great way to add personality and style to your kitchen or bathroom. Whether you’re looking for a backsplash with a classic and subdued look or one that’s bold and bright, there are endless options to choose from. If you’re feeling overwhelmed, don’t worry—we’ve got you covered. Here are six pro tips for remodeling your kitchen or bathroom backsplash.
Plan your backsplash design ahead
Before you start any remodeling project, it's important to plan ahead. This means taking the time to think about what you want your new backsplash to look like. Do you have a specific design in mind? What colors do you want to use? Answering these questions will help you narrow down your options and make the planning process much easier.
To begin, figure out how much space you'll need to cover and its square footage. In your kitchen or bathroom, the countertop beneath it determines the size of your backsplash. They're generally about 6 inches high and span across the top of the counter. That said, extending your backsplash up to the bottom of your cabinets is becoming increasingly popular, with some instances reaching all the way to the ceiling. This will all depend on your chosen design goal. Always add 10 percent to the total of your final number to cover any miscalculations, accidental damages, or any other mishaps during installation.
You'll also want to examine your finances and prepare a budget. Before you make a purchase, figure out your maximum spending limit so you can feel comfortable while shopping around. Remember that more complicated designs will generally be more costly than basic ones.
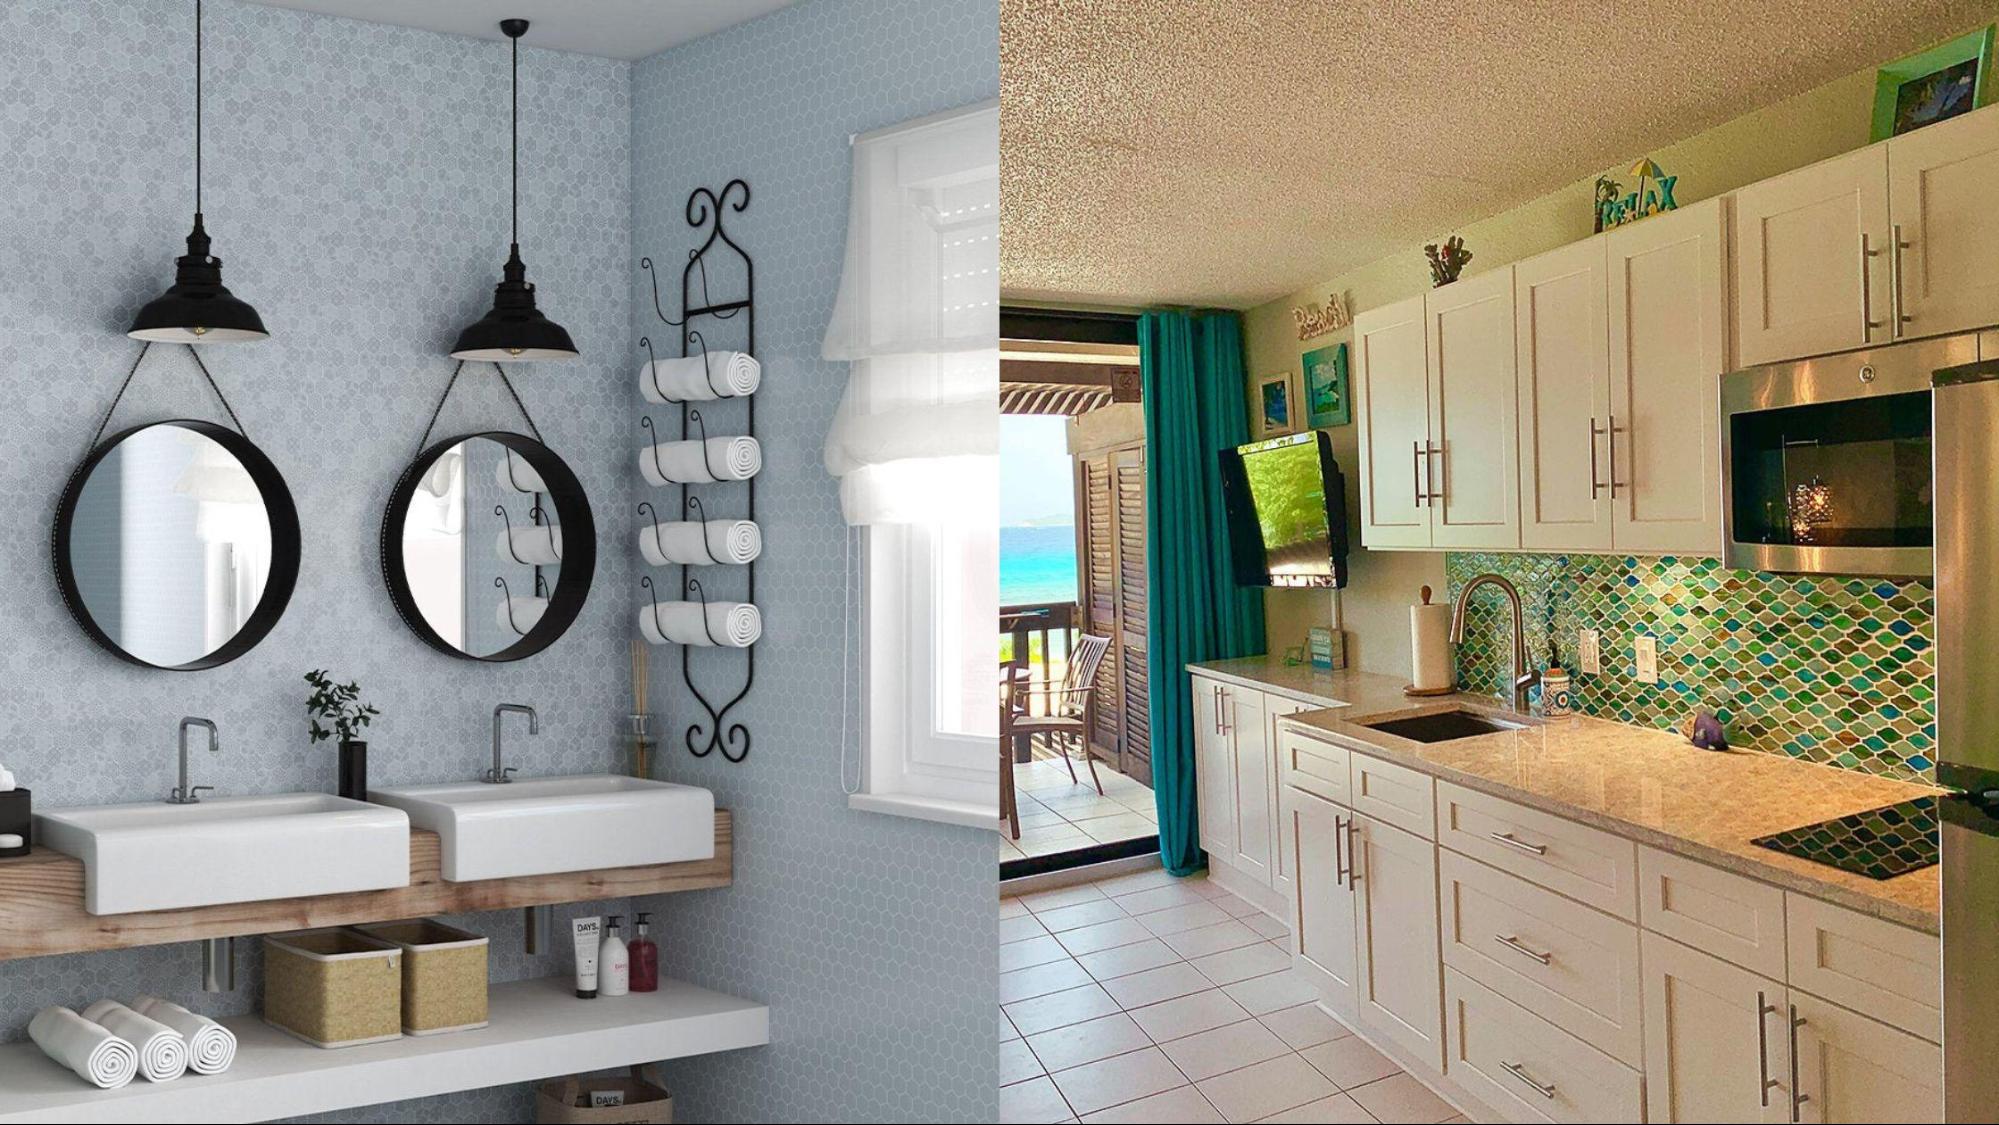
You can be as creative as you want when planning your backsplash. After you have a general idea, it's time to get started on the design. Consider the atmosphere of your home and more specifically, your kitchen or bathroom. Are you going for something that enhances a rustic feel? Perhaps the area is already sleek and modern. Choosing a tile that complements these is ideal. Not sure what look you want? Check out our Pinterest for some amazing inspiration!
Choosing the right backsplash tile
Once you know what you want your new backsplash to look like, it's time to choose the right materials. There are many different types of tiles that can be used for backsplashes, so doing some research ahead of time is crucial. You'll also want to make sure that you choose tiles that are easy to clean and durable enough to withstand spills and splashes.
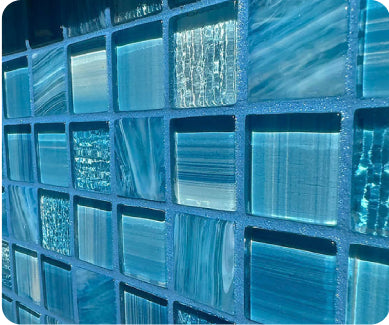
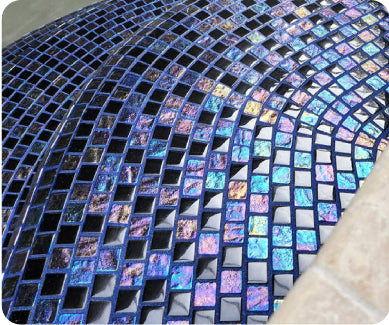
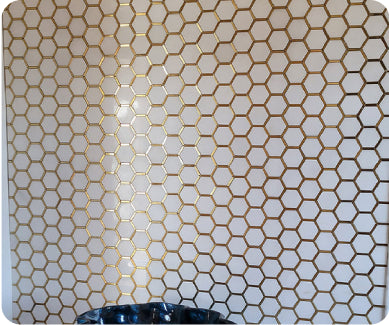
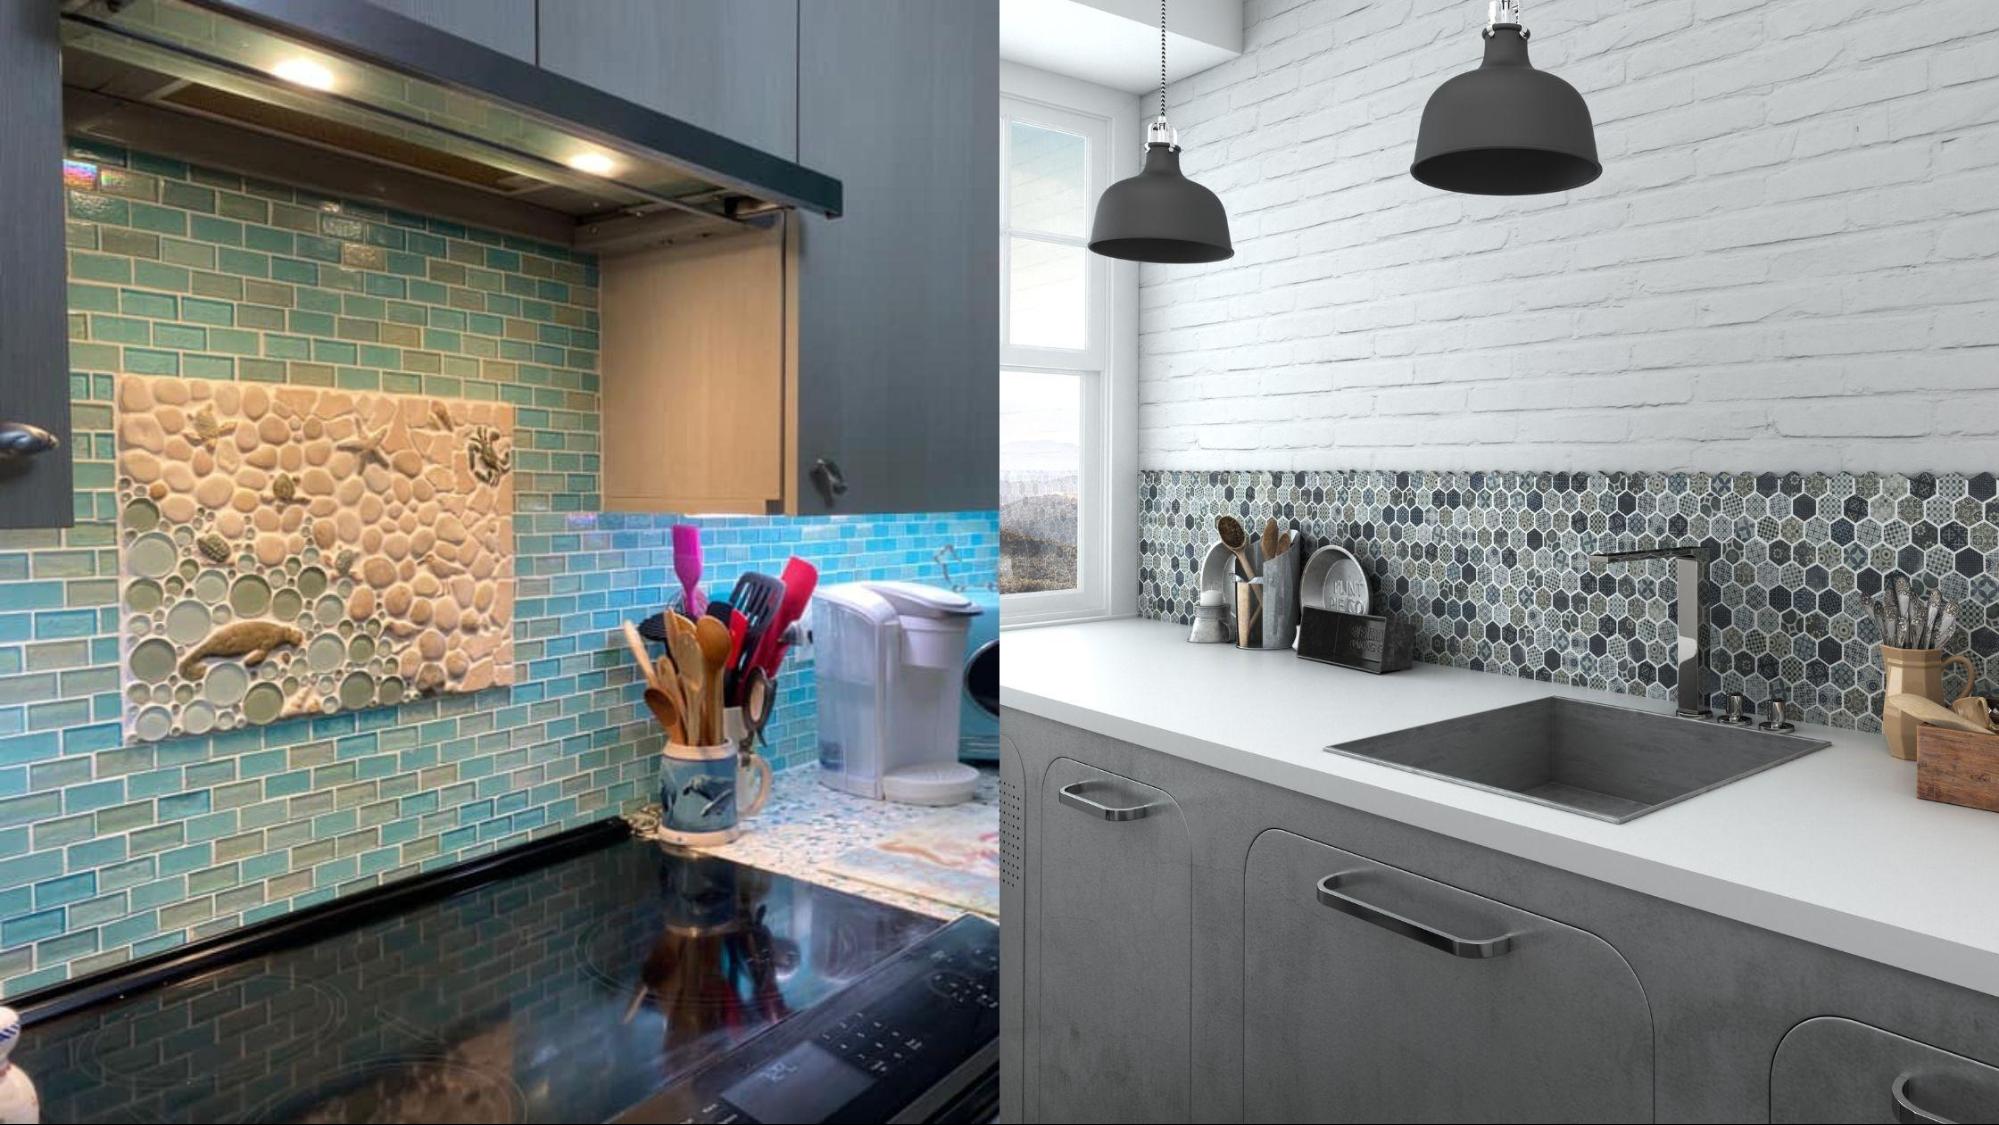
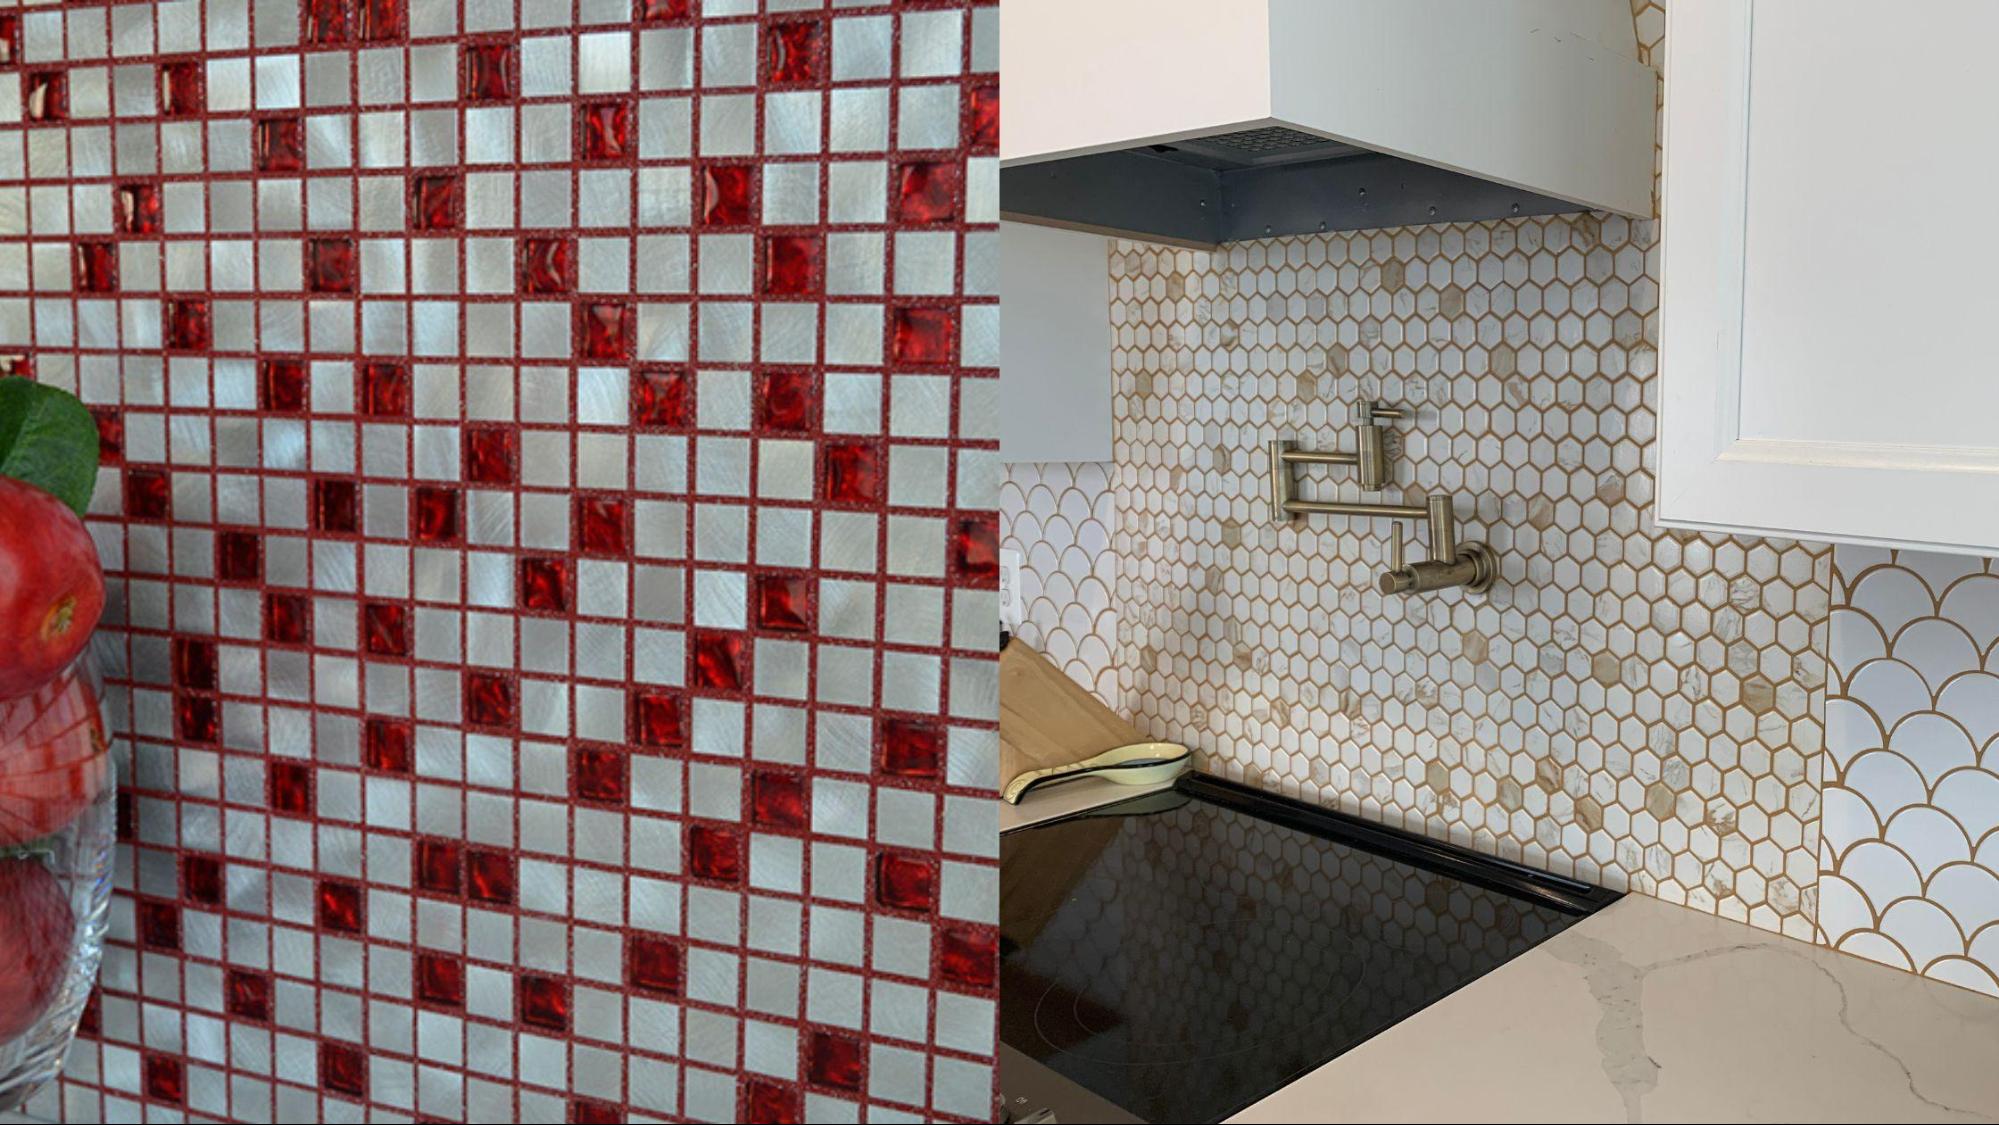
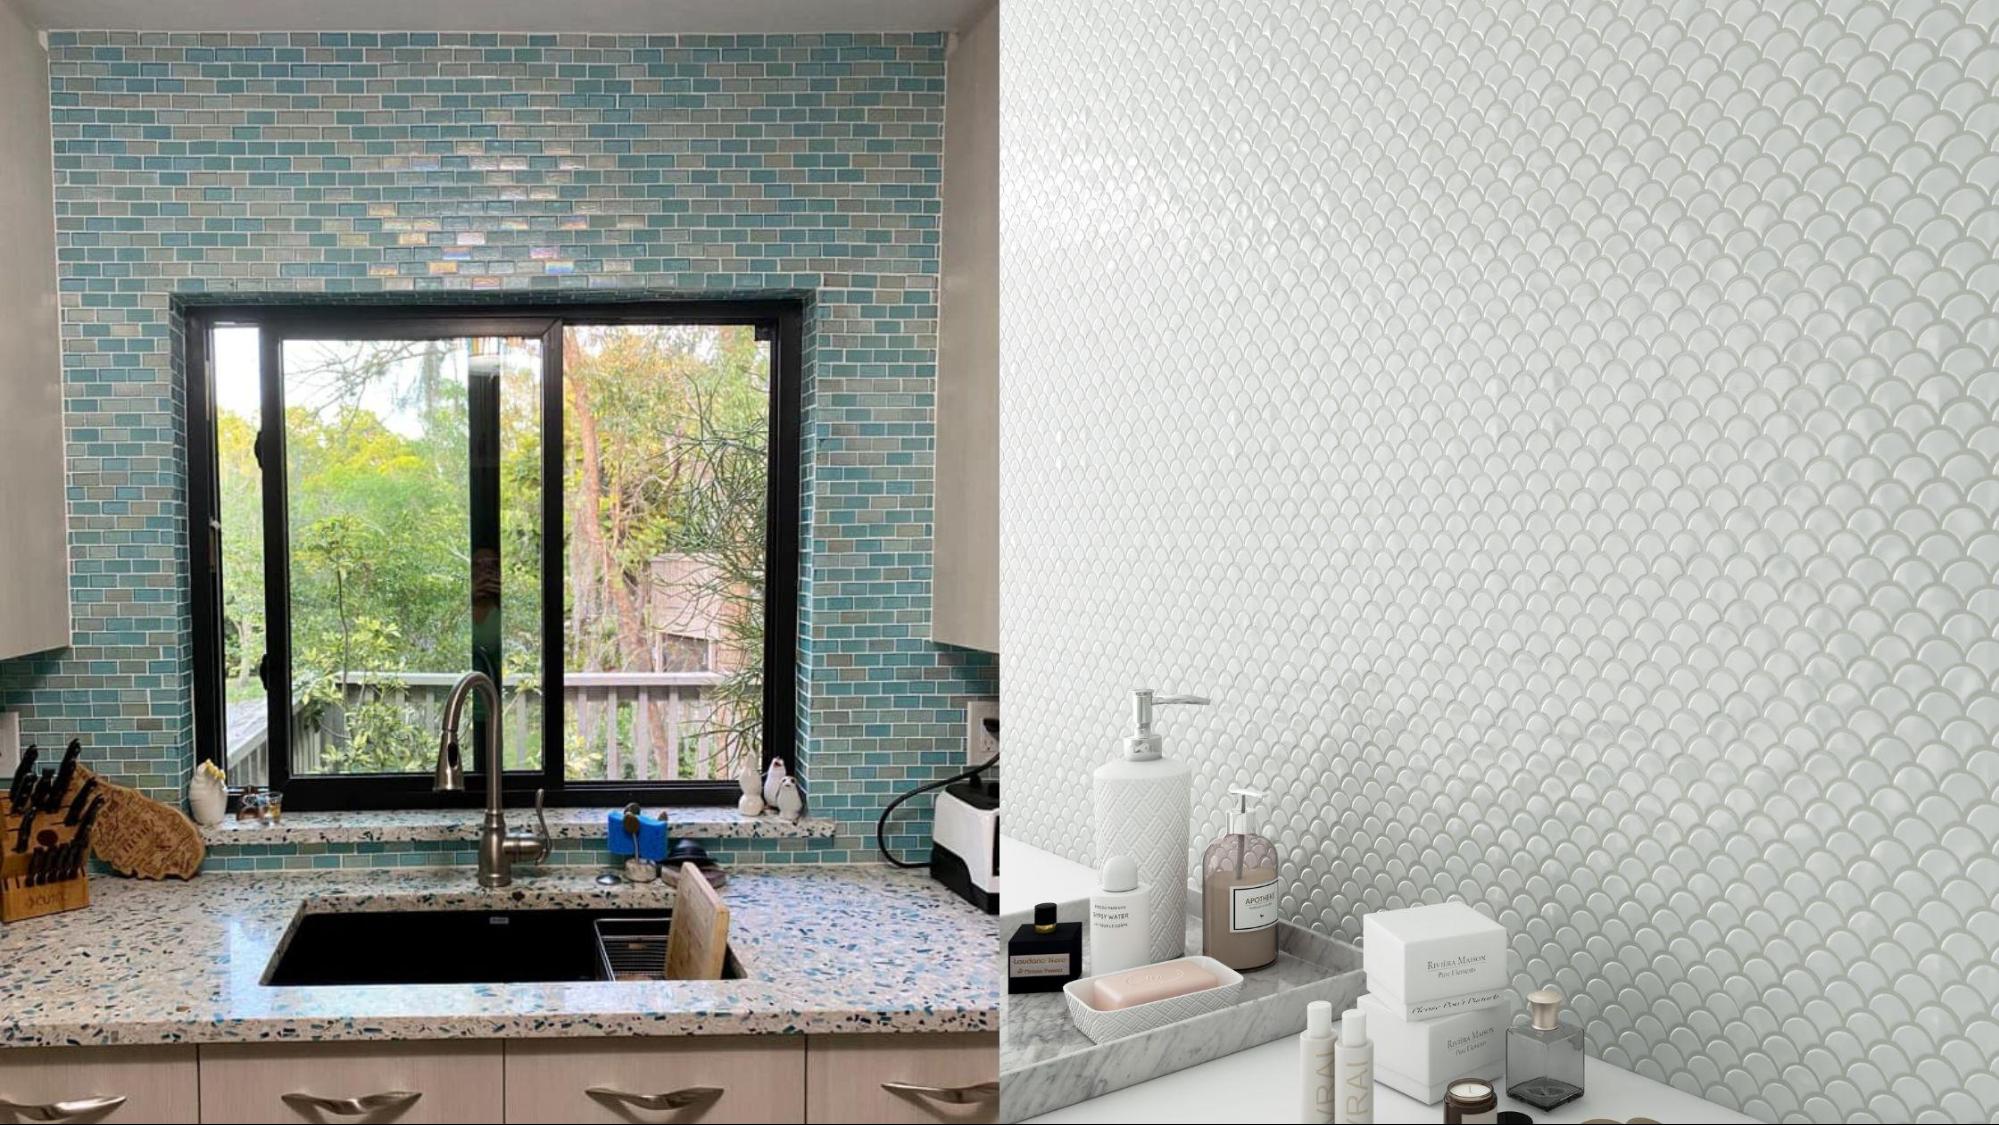
There are many different types of tiles to choose from. Mosaic tiles, more specifically, glass mosaic tiles, are a popular choice for backsplashes because they are easy to install and come in a wide variety of colors, shapes, and patterns. This is an ideal choice of tile if you’re wanting to go with a more complex pattern such as a herringbone format design as there are options pre-mounted in this layout so you don’t have to worry about installing unevenly.
Glass isn’t the only tile used for backsplashes. Porcelain tile is also a very popular choice. For instance, using a 6” x 6” patterned tile adds a stylish touch to any part of your home. Porcelain tile is a much more durable material than traditional ceramic tiles. In fact, because our tiles are pool-rated, you can rest assured you’re buying the most durable materials on the market. Pool-rated glass and porcelain mosaic tiles are put through a much more rigorous testing process to ensure they can withstand harsh weather, chemicals, and any other natural elements. Installing them inside your home only means you’re getting the most out of your investment.
Don't forget the Grout
Okay, so you found your dream tile and you’re ready to get it up and start enjoying your new backsplash. That’s great, but you’re going to need a few more things: grout and adhesive. Grout is a mortar-like substance that is used to fill in the spaces between tiles. Not only does this add an additional design element to the look, but grout plays an important part in making sure your installation is a success. It helps to hold your tiles in place and also protects the corners from chipping. This ensures a longer lifespan so you can enjoy your new backsplash for years to come!
The color of the grout you choose can enhance or ruin your backsplash project. Be sure to order a sample and compare it next to your chosen tiles. This ensures you get an accurate idea of how it will look once installed. The Starlike EVO collection offers a multitude of color options as well as different additives to match any tile. It’s also an epoxy-based grout, making it 100% non-porous, which is perfect for any wet area, so you don’t need to worry about staining or germs from food, drink, or water splashing. Simply wipe it down with a dish rag or sponge, warm water, and your usual mild soap and your backsplash will be looking good as new!
Your choice of adhesive is just as important as the grout, arguably even more so. Like with building a house, a solid foundation is everything. When installing any tile, we highly recommend the Litoelastic EVO. This high-performance epoxy-poly tile adhesive comes in a bright white color, the perfect choice for translucent or semi-translucent glass tiles. Any other color will change the appearance of your tiles as it will be visible through them. Like the Starlike EVO grout, it too is water resistant, helping to prevent damage to your tiles in the case of any leaks or plumbing issues. This adhesive is also very versatile, adhering to many different materials such as metal, fiberglass, or PVC.
Prep Your Space
Once you have your materials, make sure to prep your kitchen or bathroom. This will help you avoid making a mess and ensure the best results. Start by removing all outlets and switch covers if there are any. If adding a backsplash to a painted wall, sand down the area to help the adhesive stick better to the wall. Thoroughly clean any debris once this is done.
Clear all appliances, cookware, and personal care items from your countertop. If you're installing in a kitchen, you might need to move your stove away from the wall slightly so that you can tile behind it. Cover your counter with a drop cloth or a protective barrier to keep it safe from debris. To safeguard the undersides of the cabinets and any neighboring surfaces, tape off both areas. Make sure all power sources are turned off in the area.
If there is already tile on the wall, you have to remove it. The grout must be chipped out so that the tiles are loosened. Using a hammer and chisel, tap the tile pieces off the wall. Be sure to clean up all debris. Using a mild detergent and warm water, wipe the areas to be tiled. Let it dry completely before continuing.
Laying Your Tile
Now you’re ready to get your hands dirty! Using a notched trowel, apply the adhesive to the area you are installing the tile. We recommend only working a few feet at a time so that you have time to lay the tiles before the adhesive starts to cure. Generally, 2 to 3 feet at a time should be adequate. Once the tile is down the way you want, move on to the next section and repeat the process.
If you are installing loose tiles, you’re going to want to make sure you are using plastic spacers to ensure that your grout lines remain even, and your tiles are straight. If you’re using pre-mounted mosaic tile, you don’t have to worry about this step as the grout lines are already considered.
It’s recommended to start with the bottom layer if you are not installing a border. Find the center of the area, and then work your way out from either side.
When laying the tiles, gently apply some pressure so that all parts of the tile are in contact with the adhesive, however, not so much that it starts to get pushed out into to grout lines.
Allow the adhesive to cure based on its instructions. Once enough time has passed, you’re ready to grout. Follow all continuing instructions to ensure cleanup and installation goes smoothly.
Cutting Tile
Cutting tile can be very intimidating for those without experience. Most tile installations require some cutting and customizing so that they fit just right around corners, light switches, and outlets. Snap cutters, which score and break porcelain tiles in straight lines, are easy to use and work for most jobs, however, they do not generally leave a smooth finish. For that, the use of a wet saw will be needed.
This can all seem very daunting and that is why we recommend consulting with a professional and/or hiring them to do the installation for you if you are not experienced with this process. This relieves you from having to buy or rent any tools, or getting dirty, and will save you time.
Updating your kitchen is an exciting project that can really change the overall mood in your home. We want to note that this is in no way an instruction manual, and if you decide to DIY your backsplash installation you should do your research and/or contact a professional. There may be other tools and accessories needed for your particular installation that are not mentioned in this blog.
So, there you have it! Our top tips for installing your kitchen backsplash. Picking the right materials is critical to a successful and beautiful installation. These tips and tricks will hopefully help make the job a little easier. When in doubt, contact a professional for help.
Don’t delay, reach out to our AquaPros today to help you get everything you need to create your dream backsplash!
------------------------------
Written by: Cristi Oramas - Content Creator
Date: September, 26th 2022