5 Essential Tips for Installing Glass Pool Tile
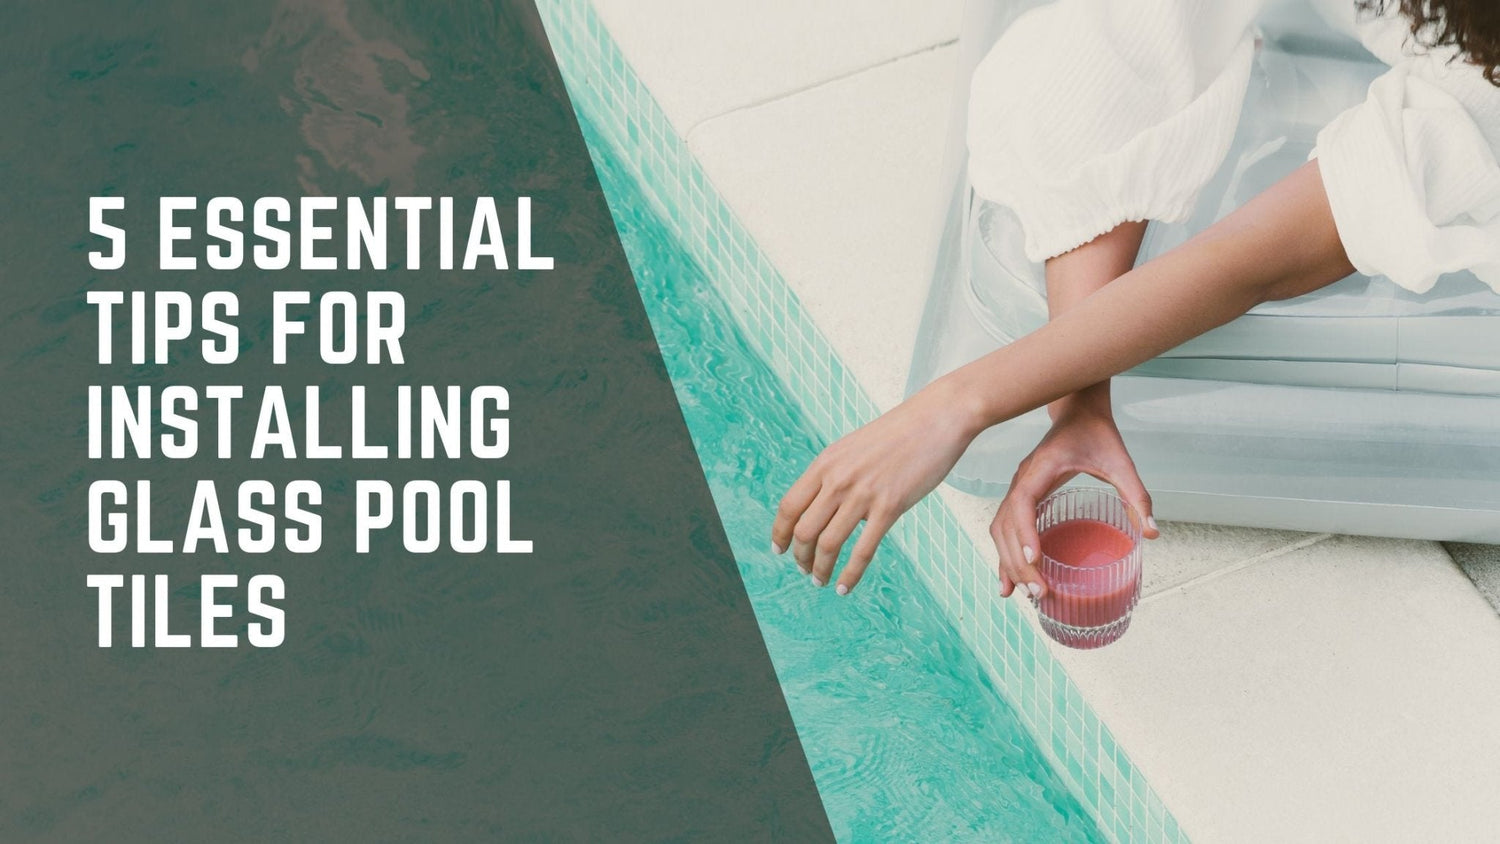
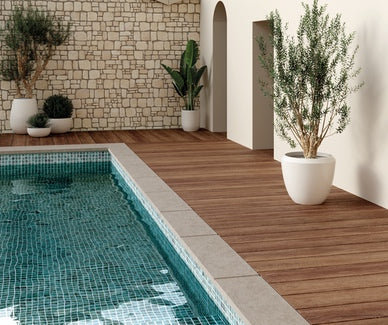
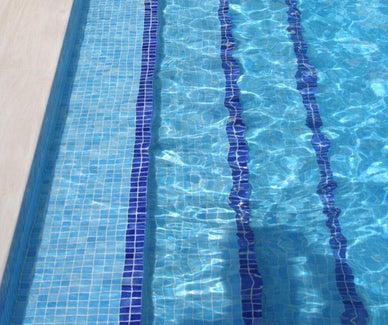
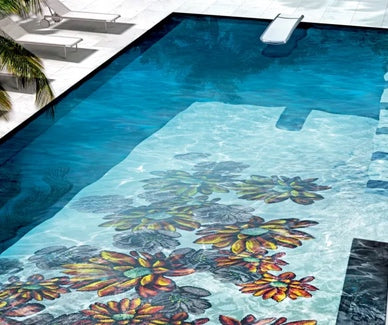
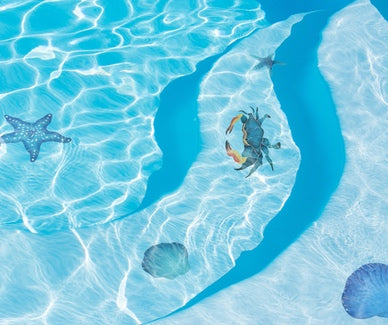
Installing glass tile in pools can transform an ordinary swimming pool into a stunning oasis. Glass tiles have it all: dazzling colors that catch the eye, an eye-catching shine, and a streamlined appearance that screams style. Glass tile requires a level of finesse that's hard to ignore; it's all about attention to detail if you want a finish that truly shines. Follow these five clever installation hacks to avoid costly mistakes and get the job done right the first time.
Table Of Contents:
- 1. Choose the Right Glass Tile
- 2. Prepare the Surface Thoroughly
- 3. Practice Precision in Tile Placement
- 4. Use the Right Adhesive and Tile Grout
- 5. Allow Proper Curing Time
- Final Thoughts
1. Choose the Right Glass Tile
The first step in any successful glass tile installation is selecting the right type of tile for your pool. Glass tiles are available in a variety of styles, sizes, and finishes. Here’s what to consider:
Pool-Specific Tiles: Ensure that the glass tiles you choose are rated for use in swimming pools. They should be resistant to chemicals, UV light, and frost.
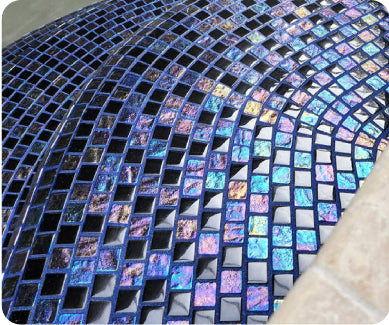
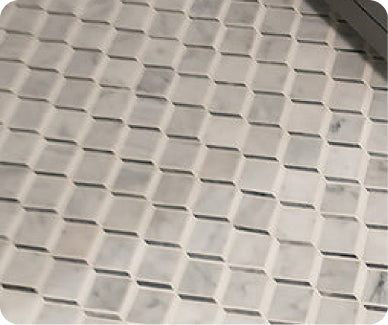
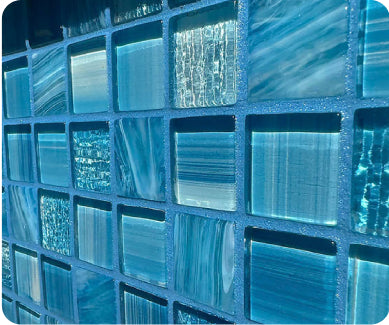
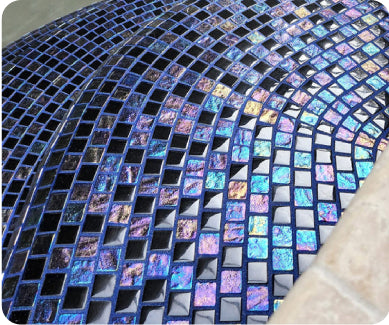
Size and Shape: Smaller tiles (like mosaics) often conform better to curves and irregular surfaces, making them ideal for pools. Larger tiles can be used but require precise handling. We love glass mosaic tile for a colorful, 3 dimensional, and varied look. Larger glass tiles provide uniformity of color and easier installation.
Surface Finish: Opt for non-slip finishes for areas that will be walked on, like pool steps or ledges, to prevent accidents.
Pro Tip:
Pay attention to tile mounting type. The mounting type varies and can be mesh mounted, paper or plastic face mounted, and polyurethane tab mounted. Face mounting is more difficult to install and requires greater installation expertise.

2. Prepare the Surface Thoroughly
Proper surface preparation is crucial for a successful tile installation. The surface must be clean, dry, and smooth. Here’s how to get it right:
Clean the Surface: Remove any dirt, grease, or old adhesive from the pool’s surface. A clean surface ensures better adhesion.
Level the Surface: Fill in any cracks or holes and sand down any rough spots. An uneven surface can lead to tiles lifting or cracking over time.
Waterproofing: Apply a waterproof membrane to the pool surface to prevent efflorescence from seeping through the tile's grout lines, which can weaken the bond and cause damage. Efflorescence is a condition where white (salt) deposits form on the surface of the tile coming from the cement foundation. Be sure to read our recent blog on the benefits of waterproofing prior to tiling your pool.
Pro Tip:
Always use a white bonding mortar specifically designed for glass tile. This can enhance the adhesion and durability of your installation.

3. Practice Precision in Tile Placement
Installing glass tiles requires a high level of precision. Here's how to ensure each tile is placed perfectly:
Use a Tile Spacer: Use spacers to maintain consistent gaps between tiles that are larger format or between mosaic tile sheets if you are a first-time installer. This helps achieve uniform grout lines and a professional finish.
Spread Adhesive Evenly: Make sure you select a trowel notch size recommended for the tile you are installing. Evenly spread your adhesive with your trowel and in the case of tile that you can see through to the adhesive. Flatten the adhesive lines created by the trowel by gently using the flat side of the trowel
Press Gently: Press the tiles into the adhesive gently but firmly. Excessive force can cause the tiles to crack or shift out of place.
Check Alignment: Frequently check the alignment and spacing of the tiles. Correct any misalignment immediately before the adhesive sets.
Pro Tip:
Consider back buttering tile as an option when installing adhesive.

4. Use the Right Adhesive and Tile Grout
Glass tiles require special adhesives and grouts to ensure a secure and long-lasting installation. Here’s what to use:
Epoxy Adhesive: For best results, we recommend using Litoelastic Epoxy Adhesive which is a high-performance product specifically designed for challenging applications like swimming pools. Its unique properties make it an ideal choice for areas exposed to water, chemicals, and varying temperatures. Its strong bond reduces the risk of tiles lifting or detaching over time, ensuring the pool's surfaces remain intact and aesthetically pleasing longer than any other setting material. Unlike traditional rigid adhesives, Litoelastic epoxy is designed to accommodate minor movements in the substrate and tile, which can occur due to temperature fluctuations and structural settling. This flexibility helps prevent cracking and maintains the integrity of the tiled surfaces.
Grout Selection: There is no better choice than Litokol’s Starlike family of epoxy grouts. Specially made for glass tile, Starlike Crystal EVO 700 is made from glass making it the most compatible grout for glass tile ever invented. It is the top choice for glass tiles and artistic mosaics. Known as "The Chameleon Grout" for its unique ability to adapt to the color of surrounding tiles, this premium two-component translucent epoxy grout ensures a seamless, vibrant finish. Its stain-resistant, non-shrink, and high compression strength qualities make it ideal for demanding environments like pools and hot tubs. Easy to clean and low in toxicity, Starlike Crystal EVO is widely recommended by tile manufacturers and professionals for its exceptional performance and versatility in wet applications.
Pro Tip:
If working alone, apply the grout to an area you can reach, clean that area per the manufacturer’s instructions, and then immediately clean that area. Move to the next area and repeat these steps. Remember to read our blog on these amazing grouts, Litokol the Ultimate Grout.

5. Allow Proper Curing Time
Curing time is critical to ensure the longevity of your glass tile installation. Here’s what you need to do:
Adhesive Curing: Allow the adhesive to cure completely according to the manufacturer’s instructions. This usually takes 24-48 hours but can vary based on the product especially if you are tiling in a swimming pool area.
Grout Curing: After grouting, allow the grout to cure based on the manufacturer's recommendation before exposing it to water. Proper curing ensures the grout’s durability and water resistance. Wait 5 days before filling your pool after grouting.
Pro Tip:
Protect the newly installed tiles from rain during the setting and grouting process. If rain is in the forecast during the curing process, tent the area to protect your project

Choosing glass tile for your swimming pool is an investment you won't regret. Its beauty is unmatched by any other material. That said, it's important that the tile is installed properly to ensure a long-lasting, durable pool finish. First, it's crucial to pick the right tile and prepare the surface properly. Then, you need to place the tiles down accurately using the right tile adhesive and grout. Finally, you have to allow the setting materials to cure for the directed amount of time. Follow these tips and you'll be ready to enjoy your pool all year long!
Final Thoughts
Installing glass tile in pools requires careful planning, precise execution, and patience. By choosing the right materials, preparing the surface correctly, using the appropriate adhesive, and ensuring meticulous tile placement and proper curing, you can achieve a stunning and durable pool surface that will be the envy of all. Take your time, follow these tips, and enjoy the beautiful results of your hard work!
For more help finding your dream tile contact us at (800) 971-1442 and Bring Paradise Home today!

